mertehnika.lv
All shown prices include 21% VAT
  • LAT
  • ENG
  • Home
  • Delivery
  • Terms
  • Contact us
  • Blog

Recent Posts

  • Simple instructions how to change a Testo 350 flue gas analyzer sensor
    8. Aug 2026
  • Testo 350 vs. competitors: which flue gas analyzer wins?
    8. Aug 2026
  • Flue gas analyzers for beginners vs advanced HVAC technicians
    2. Aug 2026
  • How is a paint thickness gauge useful for you as a car buyer?
    21. Jul 2026
  • Overview of testo 570s digital manifold
    14. Feb 2025
  • Introduction to paint thickness gauges
    14. Apr 2024
  • Introduction to Testo Measuring Instruments: An Overview
    6. Mar 2024

Simple instructions how to change a Testo 350 flue gas analyzer sensor

August 8, 2026 at 1:47 pm, No comments
Simple instructions how to change a Testo 350 flue gas analyzer sensor

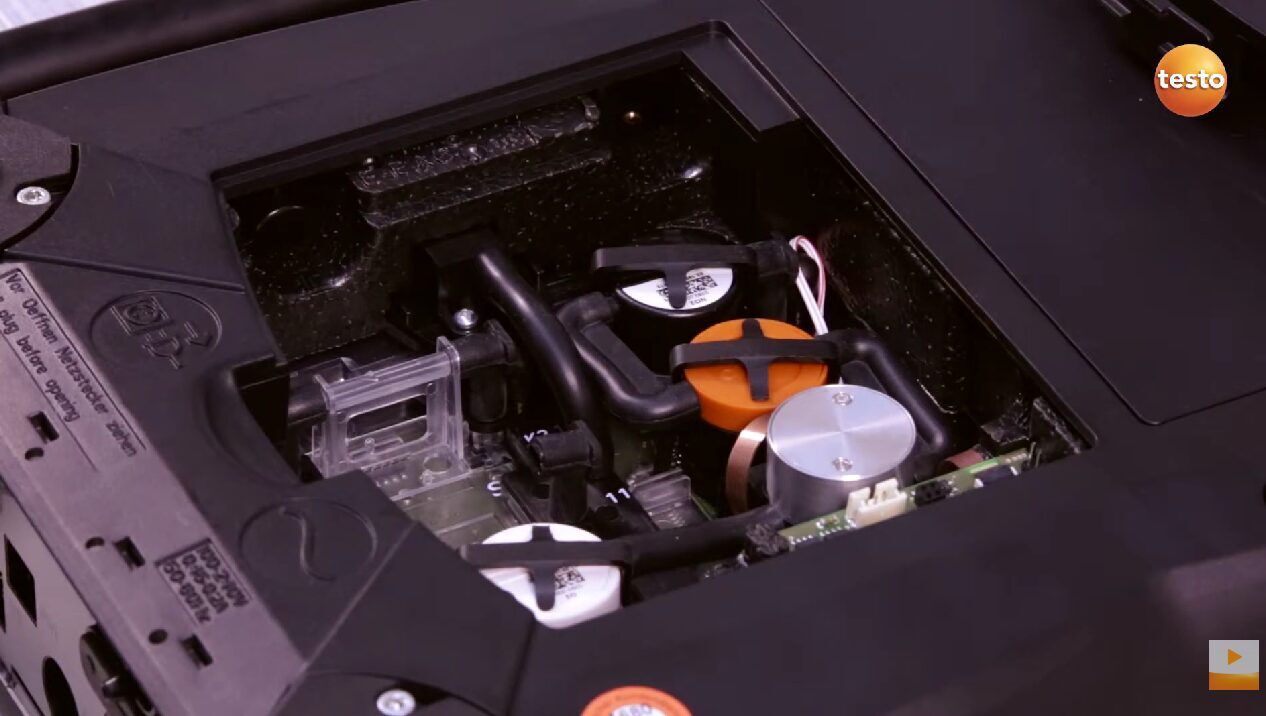
Do you want to know how to change a sensor for the Testo 350 flues gas analyzer unit/ analyzer box?

Here are the simple instructions how to do it:

  • Power off: Turn off the analyzer box and unplug it from the main power.
  • Open cover: Open the service cover on the back of the unit.
  • Release clip: Release and remove the sensor fixing clip.
  • Disconnect hoses: Pull the gas hoses off the old sensor.
  • Swap sensor: Pull out the old sensor and plug the new pre-calibrated sensor into the exact slot, using the alignment pins on the board.
  • Reconnect: Push the hose connections firmly back onto the new sensor, secure the clip, and close the service cover.

  • Here's the official video from Testo (how to change a sensor for Testo 350).


    If you want to know more or if you have any questions, feel free to contact us via this website.

    To buy the Testo 350, visit this link here!

    Happy measuring!

    Mertehnika.lv team.

    No comments

    Leave a reply


    Cart

    Cart is empty.